
How to make a Linoprint
- Painter and Printmaker
- Nov 7, 2018
- 5 min read

Updated: Jan 24, 2022


The following article appeared on Painters Online, the online edition of "The Artist" magazine and thought it might be useful for someone wishing to dip their toes into the wonderful world of lino, or perhaps would like to see how my linocuts are made. Do please contact me if you have any questions and I will happily help.
The "Cormorant" is available in my Etsy shop and on my website shop.
Materials:
3.2mm grey, hessian backed lino
Tracing paper
Carbon transfer / Graphite paper
Cranfield Water based Relief Printing Ink – Black
Roller / Brayer – soft rubber or durathene
Toughened glass plate for rolling ink – I use an old fridge shelf!
Printing paper – Hosho Japanese paper, available in pads from Intaglio; Somerset Satin paper
Newsprint or cheap paper for testing print
Bench hook or none slip surface
Carving tools – Pfeil a small “v” cut, a small and medium “u” cut
Stanley knife
Wooden spoon
Kitchen roll, cotton buds and baby wipes
Many of my linocut prints are of birds, which have been a lifelong passion. I like to use the single colour of black ink, as I like the simplicity, and graphic quality, of the image produced. This is very much a personal approach and the techniques I describe are borne of my own printmaking. Once you have become familiar with the basic principles, you will find you develop your own techniques in your own linocut adventures!
The bird I have chosen for this demonstration is a Cormorant, a favourite bird from childhood holidays. I would watch them sitting on the rocks, sitting utterly still waiting for fish, or with their wings outstretched drying them in the sun. I found them compelling, but also slightly sinister. The black ink suits this subject well.
Designing the Image
With many of my bird prints, it often takes me a while to decide on how to approach an image.
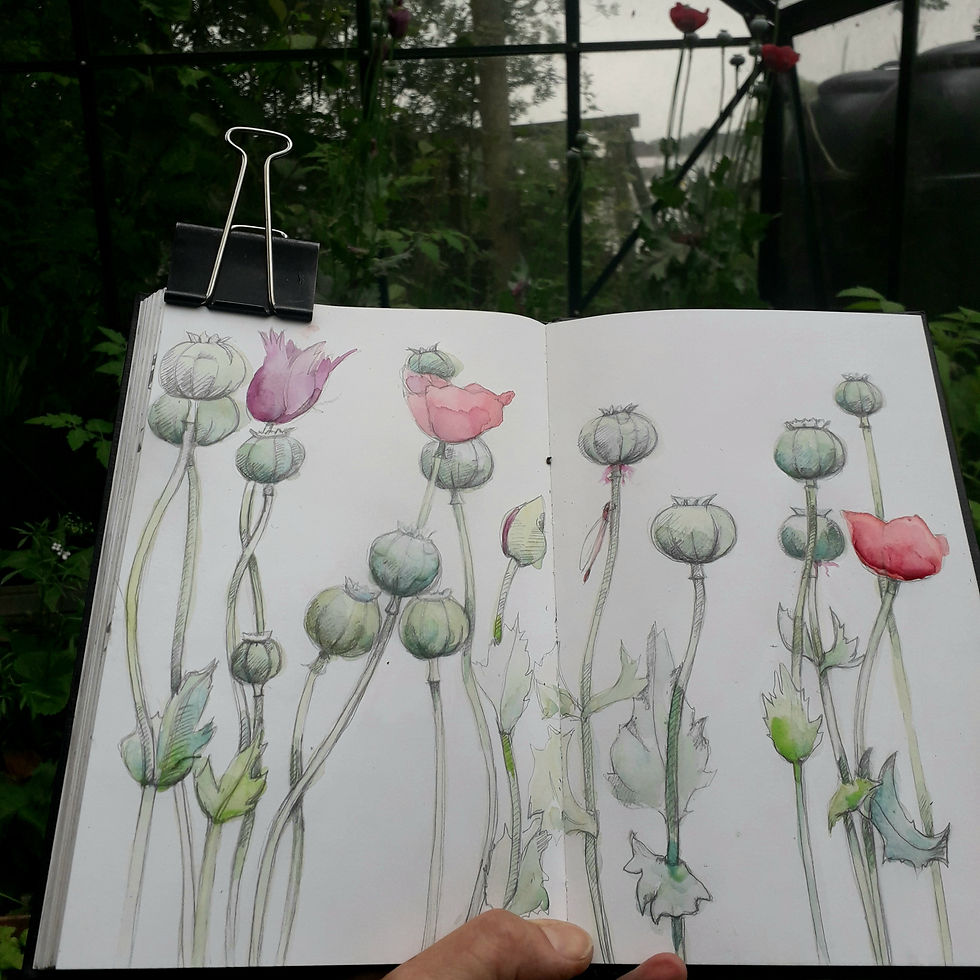
I am a keen wild life watcher and always take my sketchbook with me on my walks. I make rapid, loose sketches trying to capture the behaviour and habit of the bird. Birds are tricky to capture – they tend to move rather a lot! This is where my own photographs are vital because in both cases you are made to really observe, and get to know, your subject.
I then return to my studio and do further research on the bird. I have lots of reference books and like to familiarise myself as much as possible with my subject. I look at other photographs and the sketchbooks of illustrators, such as Tunnicliffe. This helps me further familiarise myself with my subject, and get the details right – I really like to get to know them before committing myself to a design.
I then try to select a pose that captures the spirit of the bird. It needs to have a strong graphic quality in order for it to translate well as a print. Don’t be tempted to make your image too small – it is hard to get very fine detail with lino and you want to make your marks expressive. Also, keep it simple. By keeping detail to a minimum, and selecting only those features that describe the essentials of the bird, your image will be stronger.
Transferring your image

Your drawing needs to be the same size as your linocut. Use a soft 2B pencil to trace the image, and make sure you don’t miss any details. When completed, go over it in black pen as this makes tracing it easier. Reverse the tracing when it is complete –remember when you print the design it will print the mirror image.
Place the graphite paper between the tracing paper and the lino. Try to keep your hand from pressing on the graphite paper as this makes your image cleaner. Make sure your drawing and the tracing paper is taped down – you don’t want it moving!
Once the image is transferred to the lino, embolden it with black ink.
You are now ready for carving.
Carving the image

This is the exciting bit! You now need to carve away those areas that will be white and this can take some getting used to. To make it easier initially, you can use a black pen to mark those areas that you want to keep black – think twice and carve once. It is very hard to compensate when you have carved the wrong bit.
Make sure the lino isn’t too cold – it can crack. It can be warmed on a warm radiator, as this makes carving easier – but be careful, heating it too much can also deteriorate the surface.
I find the carving completely absorbing and addictive - hours can pass, and I rarely notice how long I have been at it.
I tend to go around the outside of the image first and then move on to the inside. You will find your own way and preference – I just find this a good way to warm up.
Don’t carve to deeply – you can always take away more. Be slow and steady, and if you get tired, stop. I have often made fatal mistakes at this stage and there is no going back…
When you have finished the carving, rub the surace with a little ink – this will highlight the detail and help you decide if anything further needs to be added.
When completely happy with the design, I cut away the excess lino with a Stanley knife.
Inking the lino

The ink needs to be rolled thinly on the glass. It should make a slight hissing sound when the consistency is right and should look a bit like orange peel. Make sure there are are no stray carvings or dust on the surface –it needs to be completely clean.
Printing

Make sure your hands are clean – baby wipes come in very handy here! It is very easy to get smudges on the paper so take care and be scrupulous.
Place the paper on top on the inked lino, making sure it is in the appropriate position.
For this first print, use cheap paper – a page from an old sketchbook or newsprint is ideal. You may make want to make adjustments to your design having seen the print.
Use the back of the wooden spoon to rub gently, but firmly, on the lino. Move in small circular movements. Hold the paper firmly – you don’t want it to slip, or your print will be spoiled.
If you are printing by hand, thinner paper such as Japanese Hoshu is ideal but if you have access to a press, then I have found that Somerset is the best paper. It is soft, heavy and pliable and produces a print of high quality.
Peel back your first proof once you feel your have covered the whole piece of lino. Carefully peel back your paper.
If you are happy with the design, you can then use a piece of kitchen roll to clean up your lino, then re- ink it with fresh ink. You can then repeat this process for as many prints as you require. Make sure you clean the lino with damp kitchen roll when you have finished, otherwise the ink will affect the surface and may fill in any details.
Whatever subject you choose you carve, you will find it a highly addictive activity - I hope you enjoy your linocutting adventures!
The Finished Design


#printmaking #linoprint #lino #cormorant #birds #nature #wildlife #printing #paper #ink #drawing #Tunnicliffe #printmaker #reliefprint #printmakingprocess #linocutprocess #sketchbook


Comments